
I got a new Synology DS220+ NAS a few weeks ago. It's meant to replace an older Ubuntu Linux PC that I used as a Plex server and a general utility box. One of the things my old machine did was run an automated Speedtest every 15 minutes, saving the results to disk.
Disclaimer: I know very little about Synology, DSM, Docker, Linux, or shell programming. I'm just a web developer who likes to tinker with things.
Anyway, here's what I did to set up an automated Speedtest on my Synology NAS using the Speedtest CLI, Docker, and the Scheduled Tasks tool.
Prerequisites
The following assumptions are made for this guide. If you need help with any of these, there are plenty of articles out there that do a far better job than I could.
- You have Docker installed via Package Manager.
- You have SSH enabled on your Synology NAS.
- You are comfortable in the Terminal app of your choice.
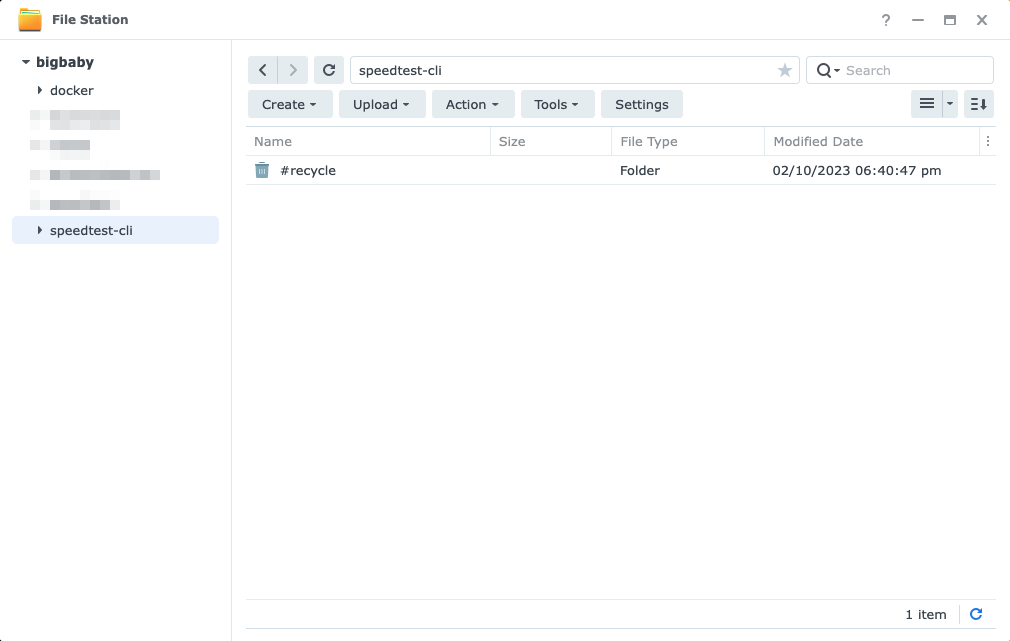
Create a folder for the Docker container to mount
Open File Station. Click Create / Create Shared Folder to create a new shared folder. Name it speedtest-cli. Click Next a few times, then click Apply to create the folder. All of the default options are fine.
Create a Docker container
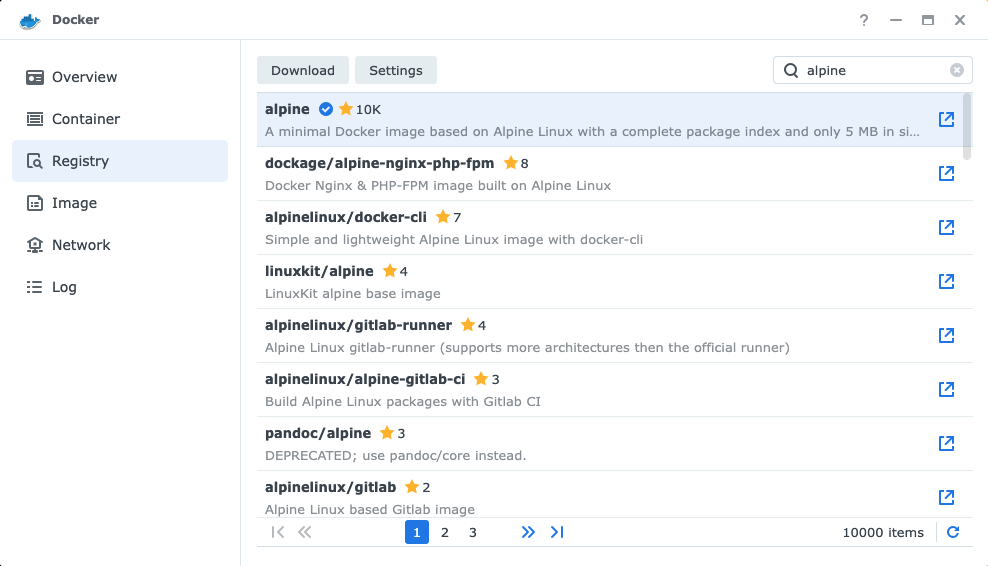
There are several Docker containers out there that will run the Speedtest CLI, but none of them do exactly what I want. For my purposes, we will create a basic alpine container and install Speedtest CLI manually.
In Docker, select Registry on the left, then search for alpine. Select the most popular one and click Download. The default tag of latest is fine.
Once it's downloaded, the image will show up under Image on the left.
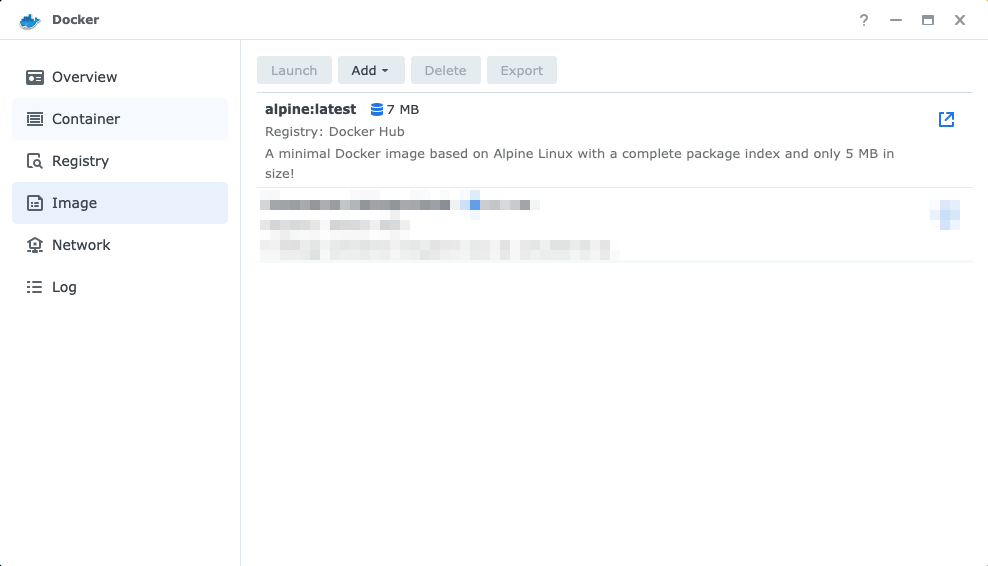
Select Container on the left, then Create. Select alpine:latest and click Next.
The default network settings are fine. Click Next.
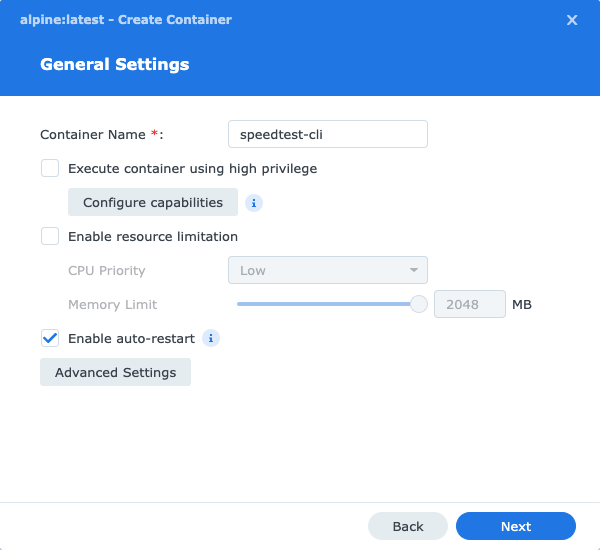
In General Settings, name the container speedtest-cli, check Enable auto-restart, then click Next.
No Port Settings are required, so click Next.
In Volume Settings, click Add Folder and select the /speedtest-cli folder you created earlier. For Mount Path enter /root. This will map the /root folder inside the container to /docker/speedtest-cli.
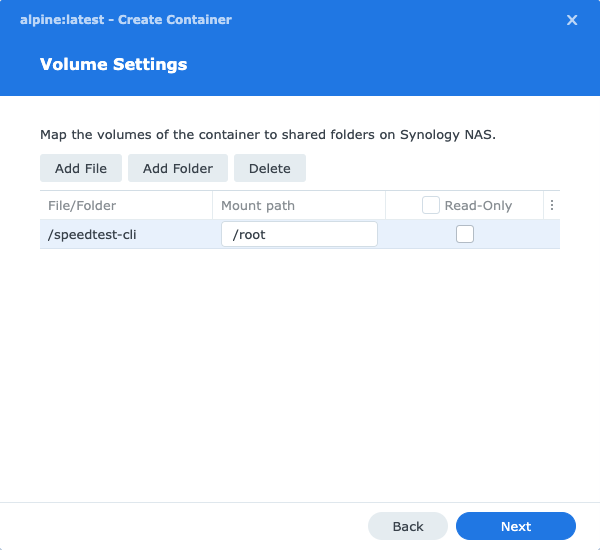
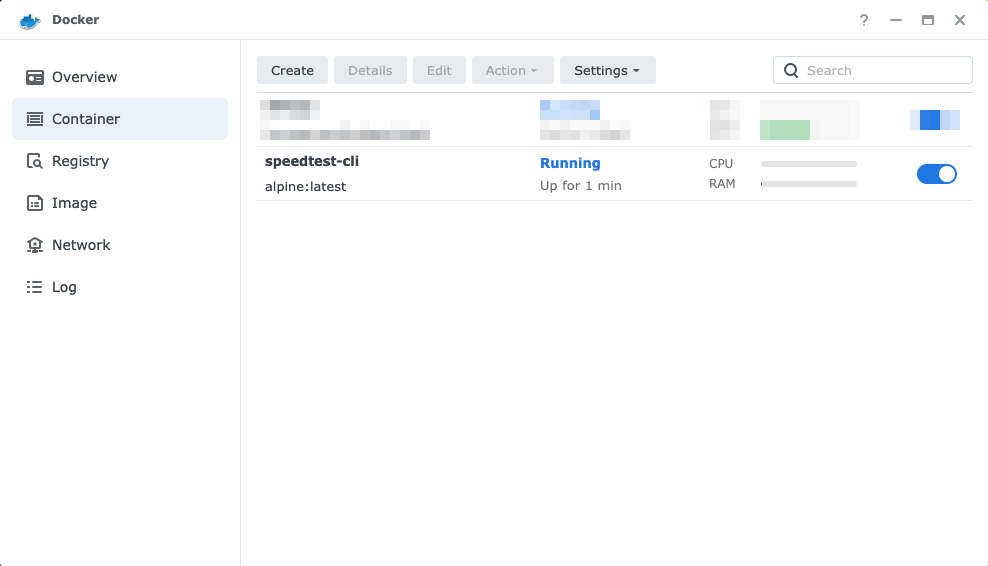
Click Next then Done to start the container.
Install the Speedtest CLI
Using Terminal on your computer, SSH into your NAS. You'll need your password. Change username to your username and change 192.168.0.0 to the address of your NAS.
ssh username@192.168.0.0
Then SSH into your Docker container. You'll need your password again.
sudo docker exec -ti speedtest-cli /bin/sh
Note: Much of the following is adapted from this gist.
Install some prerequisites with apk. The tar and curl packages are used to download the Speedtest CLI. The bash package will be used to run it after it's installed.
apk add --no-cache tar curl bash
Go to the Speedtest CLI website, scroll down, and expand the Download for Linux button. The DS220+ has an Intel Celeron, so copy the link for the x86_64 file. The link will look something like this:
https://install.speedtest.net/app/cli/ookla-speedtest-1.2.0-linux-x86_64.tgz
Back in Terminal, run the following commands to install the Speedtest CLI. Don't forget to replace [link you copied above] with the actual link.
cd /tmp
curl -sSL [link you copied above] | tar xz
mv /tmp/speedtest /usr/local/bin/
rm -rf /tmp/speedtest.*
Now you can remove the packages you don't need anymore.
apk del curl tar
Try running a Speedtest
speedtest --accept-license --accept-gdpr
You should see a Speedtest running, showing among other things, your Latency, Download, Upload, and Packet Loss, with a Result URL at the end. It should take around 30 seconds to complete.
Note that the --accept-license and --accept-gdpr options will automatically accept both of these agreements. If you prefer to do that manually, remove those options.
Save the Speedtest results to a file
Now that the Speedtest CLI is working, let's save the output to disk. Here's a little script I wrote that saves the result as a timestamped JSON file inside a folder named for the current month. Using the text editor of your choice, save this as run.sh in the speedtest-cli shared folder on the NAS.
#/bin/bash

path="/root/results"
foldername=`date +"%Y-%m"`
filename=`date +"%s"`
results="${path}/${foldername}/speedtest-${filename}.json"
mkdir -p "${path}/${foldername}"
/usr/local/bin/speedtest --accept-license --accept-gdpr -f json > "${results}"
If you prefer something other than JSON, the Speedtest CLI also supports tsv, csv, jsonl, and json-pretty. There are a bunch of other options, too, like manual server selection. Run speedtest --help when logged into the Docker container for a full list.
Give the script a try. Run the following commands inside the container.
cd /root
./run.sh
After 30 seconds or so, your prompt should return and you should see a new folder in /root/results named something like 2023-02. Inside that folder you should see a file with a name like speedtest-1676073601.json. If you check out the contents of that file, you should see your Speedtest result.
{"type":"result","timestamp":"2023-02-11T00:00:26Z","ping":{"jitter":...
Automate the script
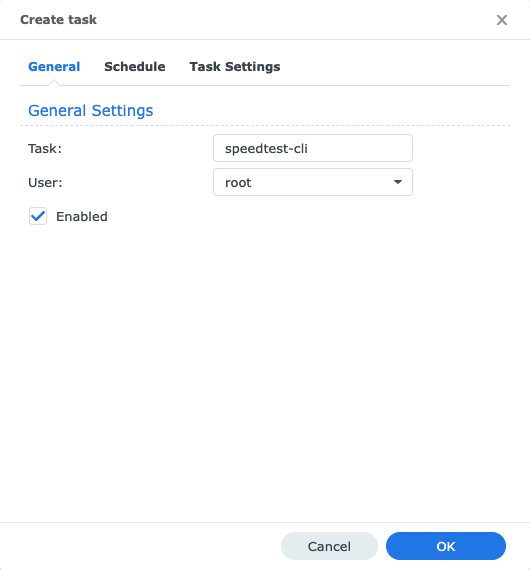
Now it's time to automate the this script. On your NAS, open Control Panel and then Task Scheduler near the bottom. Click Create / Scheduled Task / User-defined script. Name your task speedtest-cli and change the user to root.
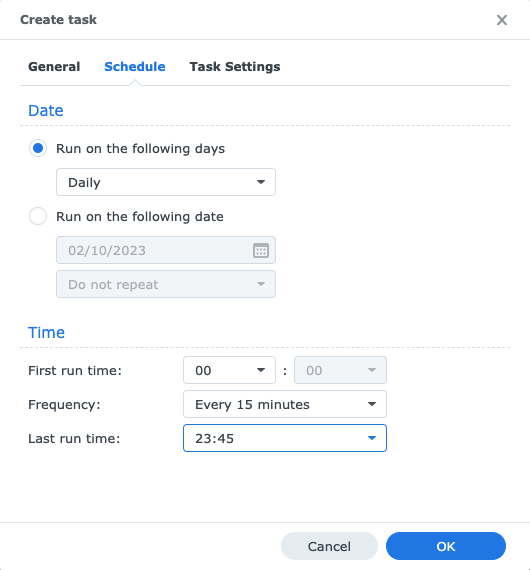
Under the Schedule tab, select the frequency you'd like to run. I chose Daily, a Frequency of Every 15 minutes, First run time of 00, and Last run time of 23:45.
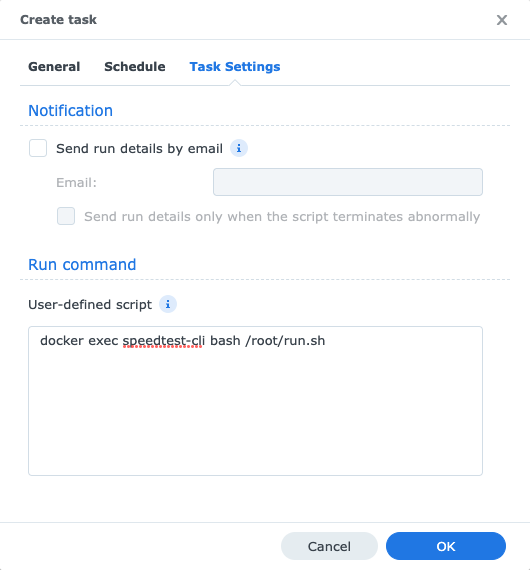
Under the Task Settings tab, enter the following under User-defined script.
docker exec speedtest-cli bash /root/run.sh
This runs the run.sh script inside the docker container, which will run a Speedtest and output the results as a new JSON file.
Click OK, accept the warning about running a task as root, and wait for the next quarter-hour mark. About 30 seconds after the quarter-hour, you should see a new JSON file alongside the one you generated before. Nice work!

Be aware that a Speedtest can use a few hundred megabytes of bandwidth. If you have a metered connection you might want to reconsider how often you run this task.
Conclusion
Now that this is set up, what should you do with all these JSON files? I don't know! Maybe make a chart or something. I guess that will be the topic of a new article.